Step-by-Step Guide to Installing Your Kenworth T880 Headlight Assembly (2014+)
Introduction
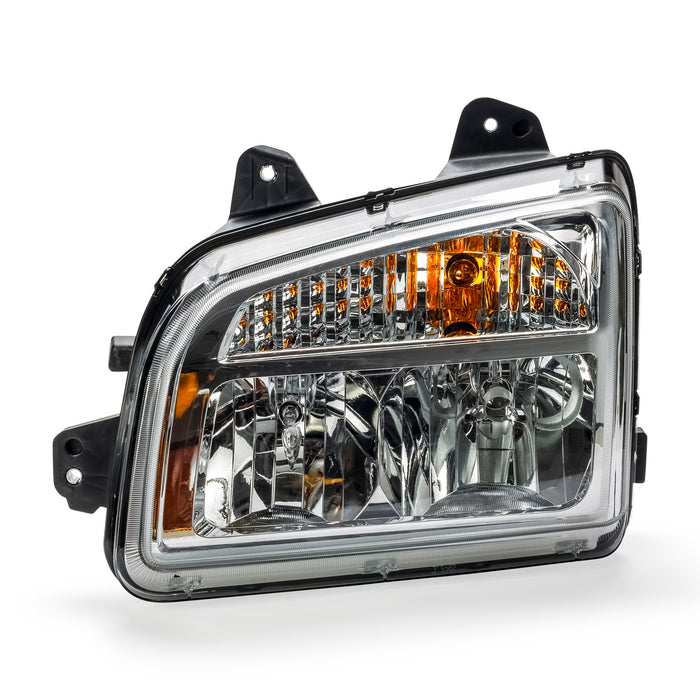
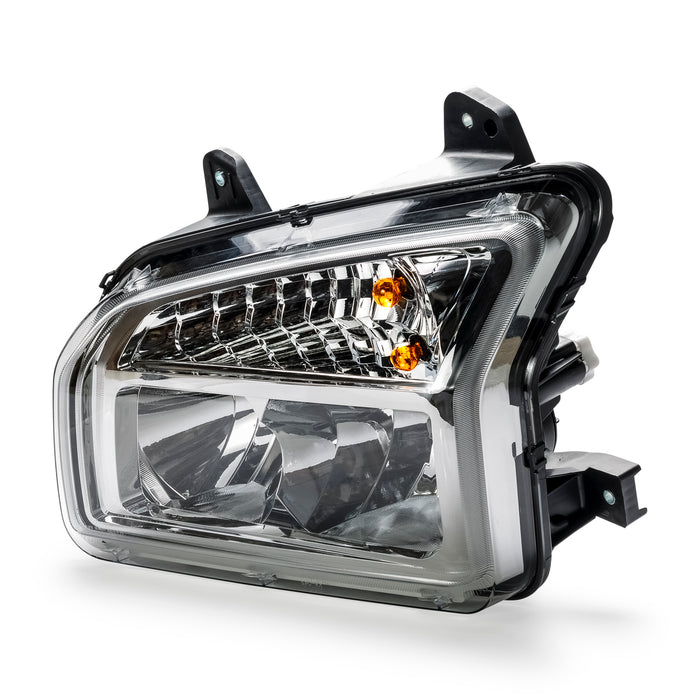
When it comes to maintaining the performance and safety of your Kenworth T880, ensuring your headlight assembly is in top condition is crucial. In this guide, I’ll walk you through the process of installing the Kenworth T880 headlight assembly for models from 2014 onwards. This assembly, with its robust ABS plastic housing and DOT certification, is designed to enhance your truck's visibility and durability.
Overview of the Headlight Assembly
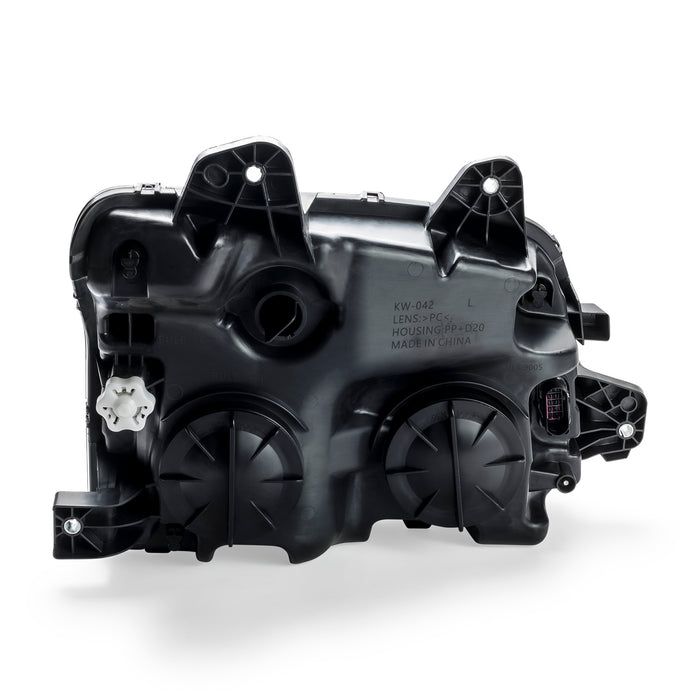
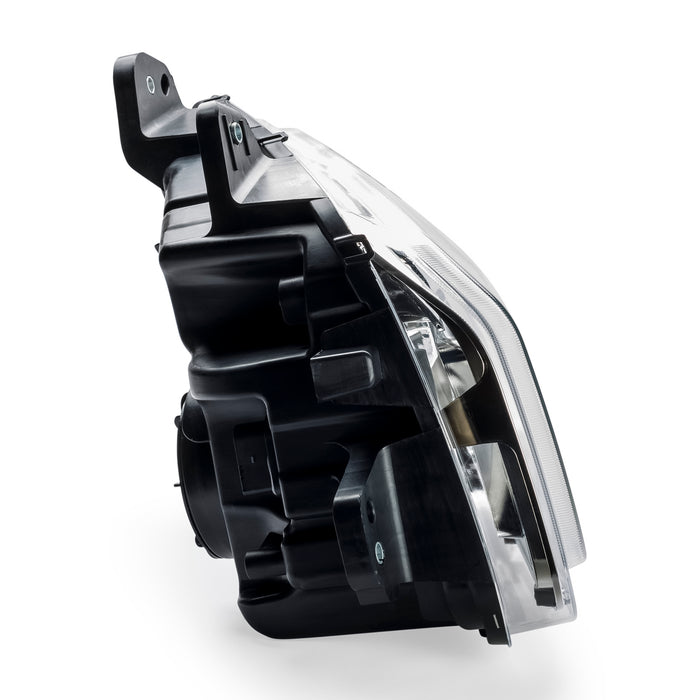
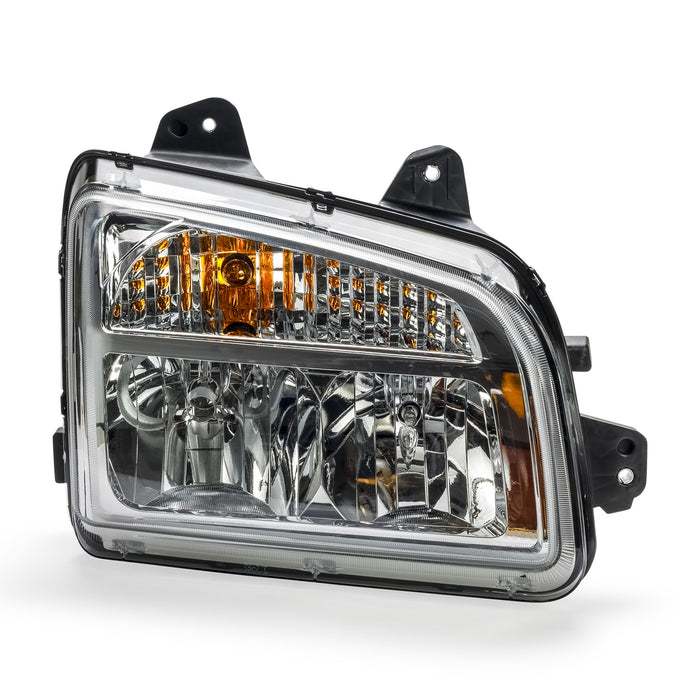
The Kenworth T880 headlight assembly is built to withstand tough conditions, thanks to its heavy-duty ABS plastic housing. Certified by the DOT, it guarantees compliance with all safety and regulatory standards. The specific parts you will be installing are labeled with the reference numbers P54-6165-100 and P54-6165-100R, ensuring you have the exact fit for your truck.
Required Tools and Materials
Before we begin the installation, you’ll need to gather a few tools:
- Screwdrivers (Phillips and flat-head)
- Socket wrench set
- Wire crimpers and strippers
- Electrical tape
- New headlight assembly (Reference numbers: P54-6165-100, P54-6165-100R)
Pre-Installation Preparation
Safety first! Ensure your truck is parked on a flat surface and that the engine is turned off. Disconnect the battery to avoid any electrical mishaps. Clear the area around the headlight of any debris or tools to create a safe working environment.
Step-by-Step Installation Guide
- Remove the Old Assembly: Open the hood and locate the old headlight assembly. Remove any screws or bolts holding it in place using the screwdriver and socket wrench.
- Disconnect the Wiring: Carefully disconnect the wiring from the back of the old headlight. Keep the connectors intact as you'll use them for the new headlight.
- Install the New Headlight Assembly: Align the new headlight assembly with the mounting area. Connect the wiring to the new headlight, ensuring all connections are secure.
- Secure the Assembly: Once the new headlight is connected, mount it using the screws or bolts you removed earlier. Tighten them to ensure the headlight is firmly in place.
- Test the Headlights: Reconnect the battery and turn on the headlights to test them. Ensure both the high and low beams are functioning correctly.
Troubleshooting Common Issues
If you encounter any issues like the headlights not functioning or fitting correctly, double-check your connections and ensure all wires are properly insulated with electrical tape. Misalignment can often be fixed by adjusting the screws or mounting bolts.